How to Bat-Proof Your Frederick Home Before Winter
As temperatures drop in Frederick, bats seek warm shelter for the winter - and your home might look inviting. Bat-proofing before winter arrives can prevent these nocturnal visitors from taking up residence and avoid the need for removal later. Here's how to protect your home.
Why Winter Bat-Proofing Matters
Bats look for winter roosts in late summer and early fall. Once they establish a winter roost, they may:
- Return to the same location year after year
- Invite other bats to join the colony
- Create increasing contamination over time
- Require professional exclusion to remove
Preventing entry is far easier and less expensive than removing an established colony. Winter bat-proofing gives you peace of mind and protects your property.
Common Bat Entry Points in Frederick Homes
Roofline Areas
- Fascia boards - Gaps where fascia meets roof sheathing
- Soffits - Unscreend or damaged soffit vents
- Ridge vents - Gaps where vent meets roof
- Dormers - Complex joints and transitions
- Eaves - Gaps where eaves meet walls
Chimneys and Vents
- Uncapped chimneys - Open flues invite bats
- Gable vents - Unscreend vents allow easy access
- Roof vents - Damaged or missing screens
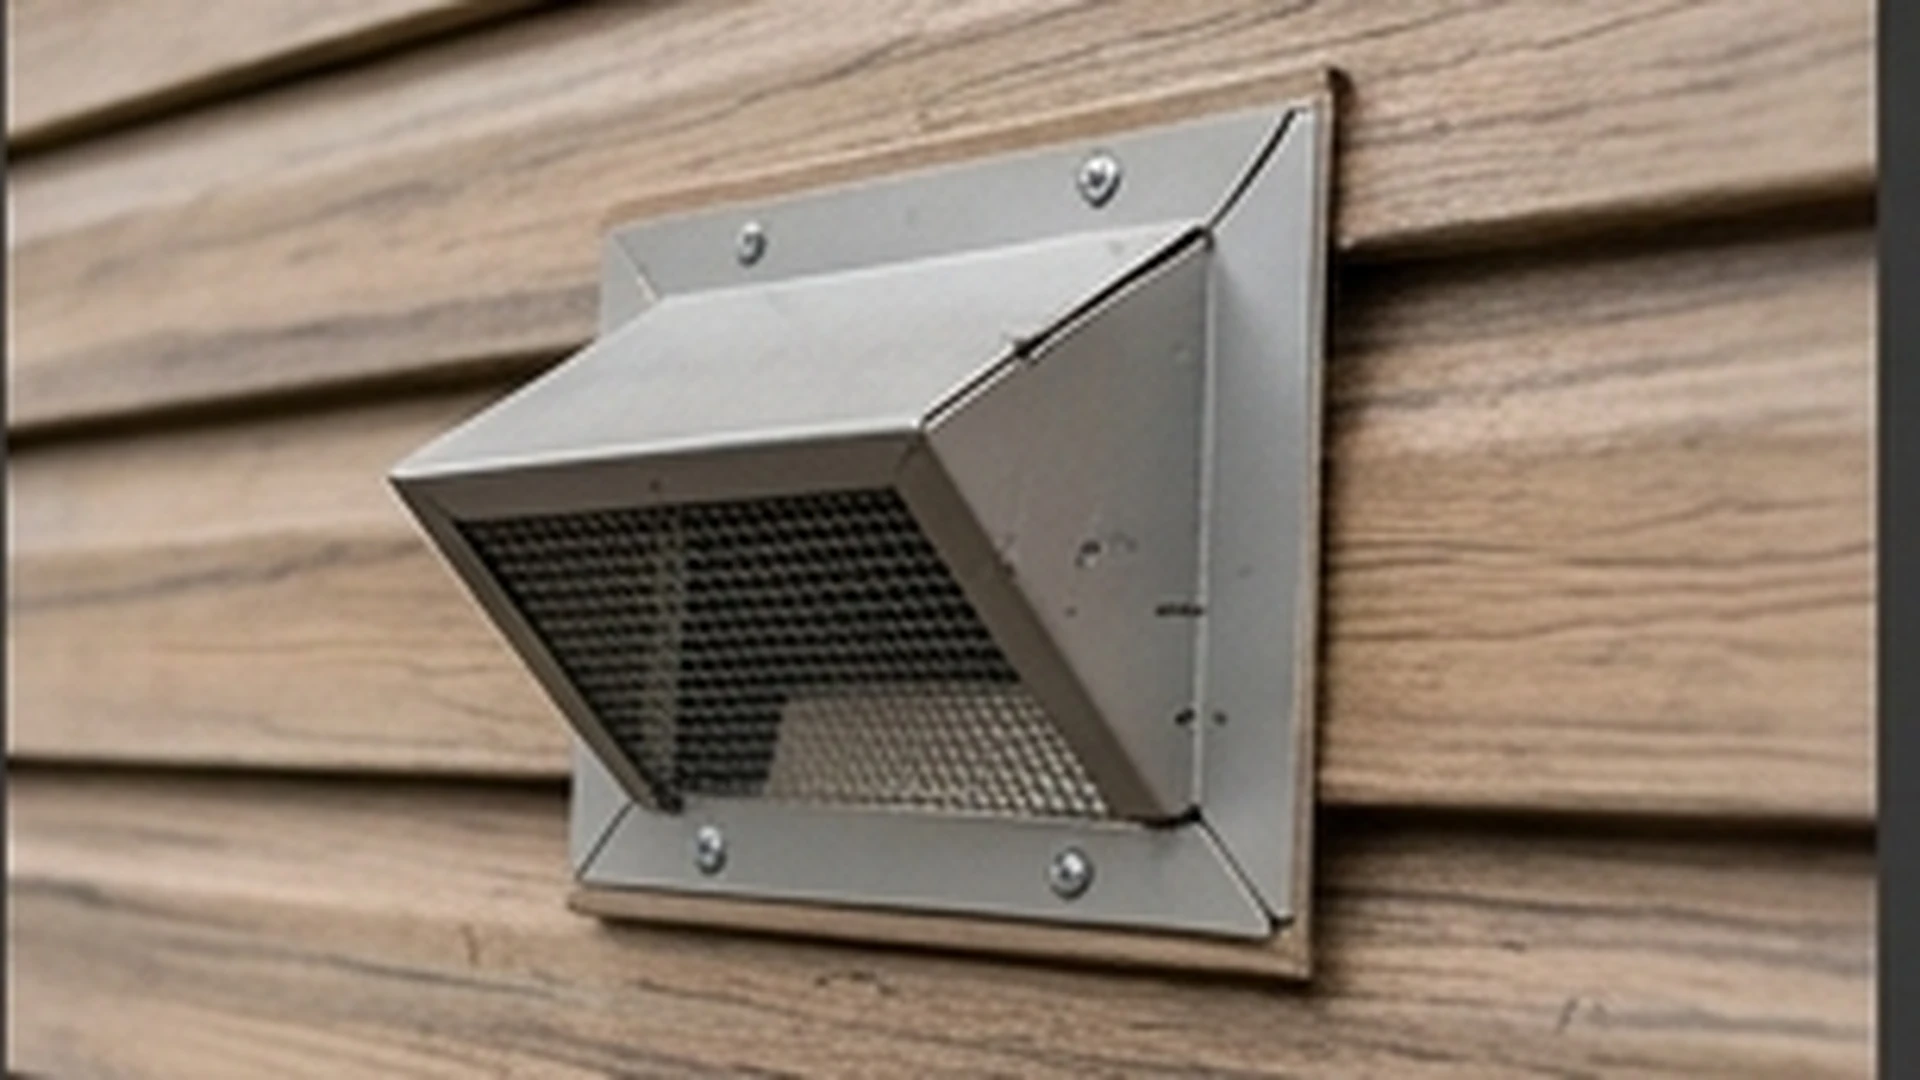
- Bathroom vents - Exhaust vents without proper screening
Structural Gaps
- Construction joints - Where different materials meet
- Utility penetrations - Pipes, wires, and HVAC lines
- Siding gaps - Where siding meets trim or foundation
- Window and door frames - Gaps around exterior frames
Frederick-Specific Vulnerabilities
Frederick's architectural mix creates unique challenges:
- Victorian homes - Complex trim, multiple rooflines, decorative elements
- Farmhouses - Large attics, barns, outbuildings
- Mid-century ranches - Low rooflines, exposed eaves
- Historic properties - Aging materials, preservation restrictions
Bat-Proofing Strategies
1. Inspection First
Before sealing anything, conduct a thorough inspection:
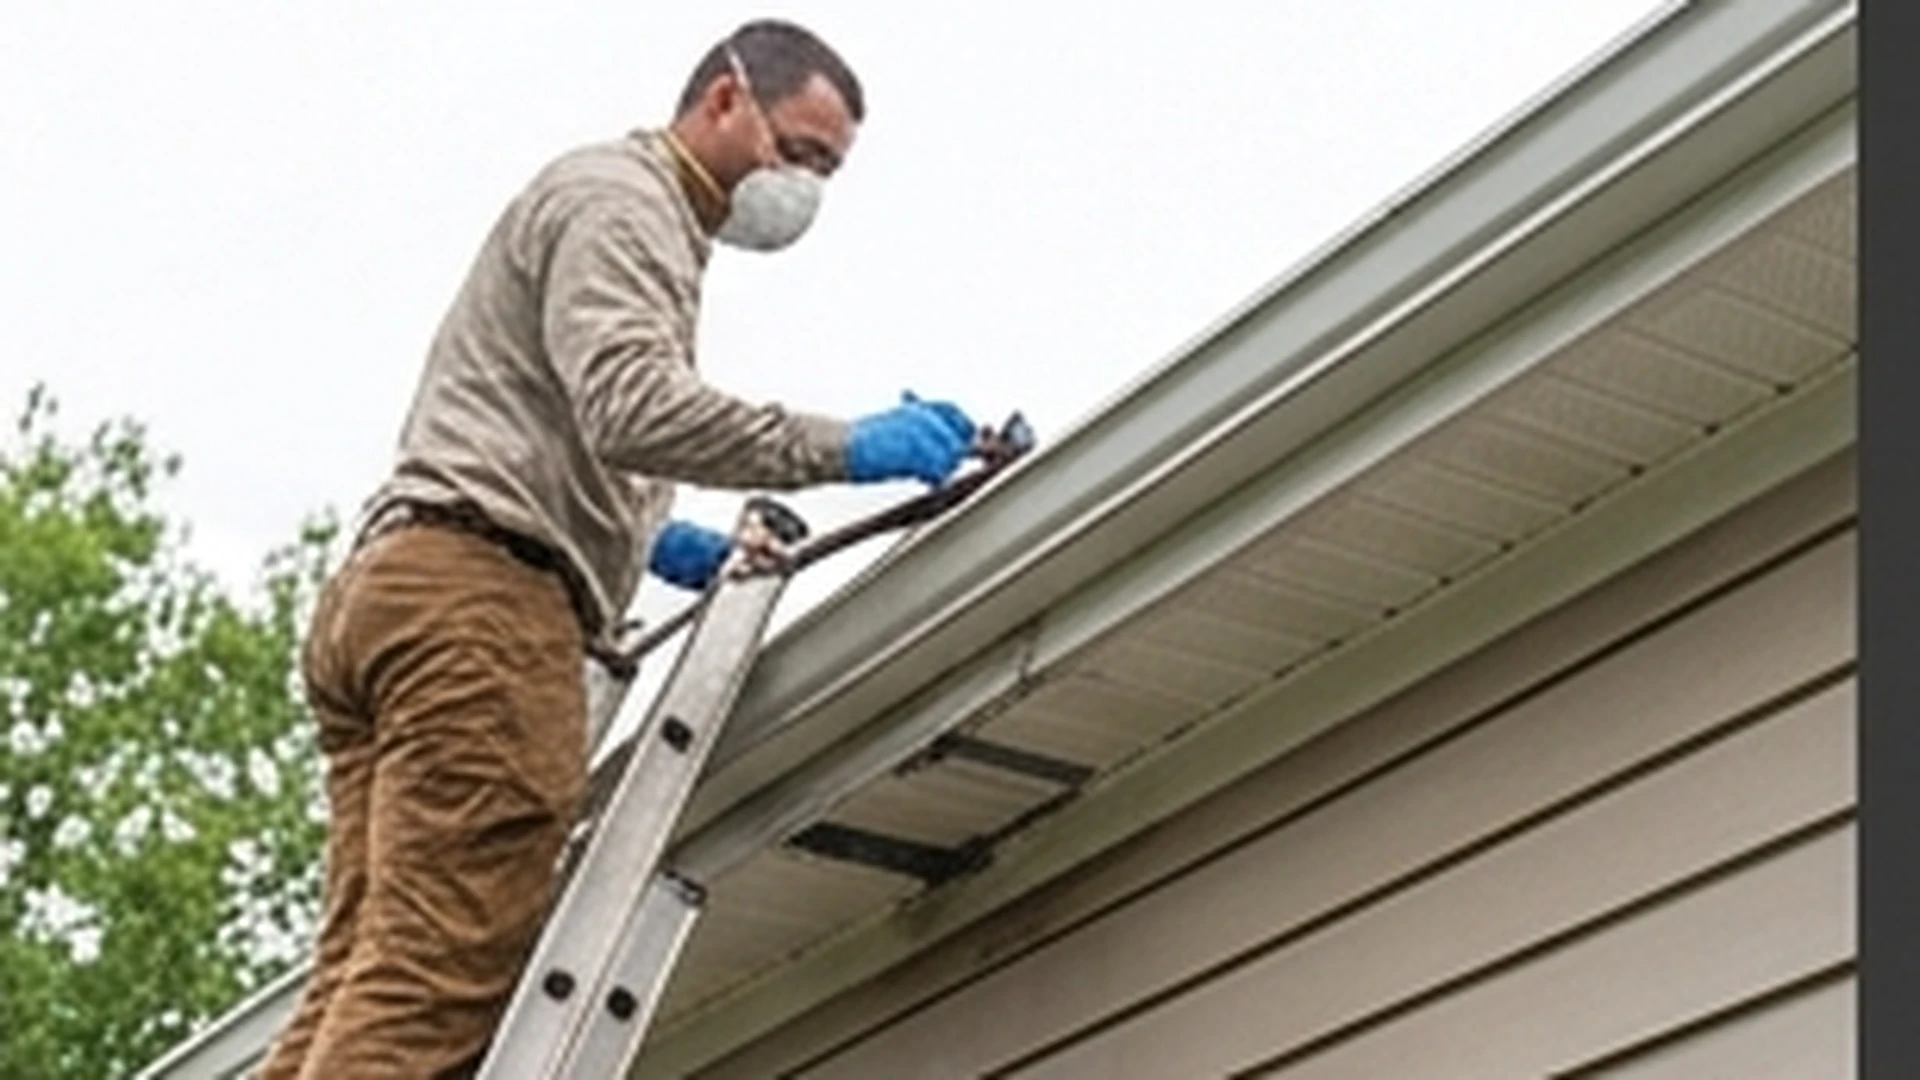
- Examine the entire exterior, especially roofline
- Check all vents and penetrations
- Look for staining or rub marks (signs of current use)
- Inspect attic for light gaps or signs of activity
- Document all potential entry points
2. Seal Primary Entry Points
Focus on the most common and vulnerable areas first:
Chimney Caps
- Install stainless steel chimney caps with animal-proof grates
- Ensure caps are properly sized and secured
- Check for gaps where cap meets chimney
- Consider spark arrestor caps for additional protection
Vent Screening
- Install 1/4-inch hardware cloth over all vents
- Use corrosion-resistant materials (stainless steel or aluminum)
- Ensure screening doesn't block necessary airflow
- Secure screening with appropriate fasteners
Roofline Sealing
- Seal gaps between fascia and roof sheathing
- Use appropriate sealants (caulk, expanding foam, flashing)
- Address deteriorated or missing fascia boards
- Check for gaps around dormers and roof transitions
3. Address Secondary Vulnerabilities
After primary points are sealed, address secondary access:
- Utility penetrations - Seal around pipes, wires, and HVAC lines
- Siding gaps - Caulk or seal where siding meets other materials
- Window/door frames - Check and reseal exterior trim
- Foundation vents - Install proper screening or covers
4. Maintain Proper Ventilation
While sealing against bats, don't block ventilation:
- Use bat-proof vent covers that maintain airflow
- Ensure attic vents remain functional
- Check that bathroom and dryer vents exhaust properly
- Monitor for moisture issues after sealing
Materials for Bat-Proofing
Effective Materials
- 1/4-inch hardware cloth - For vent screening
- Stainless steel chimney caps - Durable and animal-proof
- Quality silicone or polyurethane sealant - For gaps and joints
- Expanding foam - For larger gaps (use rodent-resistant formulas)
- Flashing - For roofline and chimney transitions
Materials to Avoid
- Standard window screening - Too large, bats can pass through
- Copper mesh - Can corrode over time
- Cheap plastic vent covers - Deteriorate quickly
- Spray foam alone - Bats can chew through it
When to Hire a Professional
While some bat-proofing can be DIY, consider professional help when:
- Working at heights - Roof work requires safety equipment
- Complex architecture - Multiple rooflines or difficult access
- Current bat activity - If bats are already present, exclusion is needed
- Historic properties - Preservation requirements may apply
- Uncertainty about entry points - Professional inspection identifies all vulnerabilities
Professional bat-proofing includes:
- Comprehensive inspection
- Identification of all entry points
- Proper sealing with appropriate materials
- Warranty on work performed
- Integration with exclusion if bats are present
Timing Your Bat-Proofing
The best times for bat-proofing are:
- Late summer/early fall (August-September) - Before bats seek winter roosts
- Spring (March-April) - Before maternity season begins
- Any time during winter - When bats are less active but may still be present
Avoid bat-proofing during maternity season (April-August) if bats are present, as this could trap flightless pups inside.
Ongoing Maintenance
Bat-proofing isn't a one-time task. Maintain your defenses with:
Annual Inspections
- Check all sealed areas for deterioration
- Look for new gaps from settling or weather damage
- Inspect vent screens for damage
- Monitor for signs of bat activity
Seasonal Checks
- After severe weather, check for new damage
- Before winter, verify all seals are intact
- After spring storms, check for new vulnerabilities
- Monitor for new construction or renovations that create access
Prompt Repairs
- Address damaged sealant immediately
- Replace deteriorated vent screens
- Fix new gaps from settling or damage
- Repair roof or siding damage promptly
Additional Prevention Strategies
Beyond physical sealing, consider:
Reduce Attractants
- Eliminate insect attractants near the home
- Keep outdoor lighting to a minimum (lights attract insects, which attract bats)
- Remove dead trees or branches close to the house
- Keep trash cans sealed
Provide Alternative Roosts
- Install bat boxes away from the house (50+ feet)
- Place bat boxes on poles or trees, not structures
- Maintain bat boxes properly
- This gives bats an alternative to your home
Landscape Management
- Trim tree branches away from the roof
- Remove climbing vines from walls
- Keep shrubs away from the foundation
- Maintain clear space around the structure
Cost Considerations
DIY bat-proofing costs:
- Materials: $100-$500 depending on extent
- Tools: $50-$200 if not already owned
- Time: 1-3 weekends for typical home
Professional bat-proofing costs:
- Inspection and sealing: $500-$2,000
- Chimney cap installation: $200-$500
- Complex projects: $2,000-$5,000+
While professional services cost more, they include expertise, safety equipment, warranties, and often identify vulnerabilities homeowners miss.
Next Steps
To bat-proof your Frederick home before winter:
- Schedule a professional inspection - Identify all vulnerabilities
- Prioritize sealing work - Focus on the most vulnerable areas first
- Use appropriate materials - Quality materials last longer
- Plan for ongoing maintenance - Annual inspections prevent problems
- Act before winter - Late summer and early fall are ideal
Contact us for a professional bat-proofing inspection. We'll identify all entry points, recommend appropriate sealing strategies, and help protect your home before winter arrives.
Schedule your inspection today or call (240) 555-0187.